For a tool to be useful, it needs to be in good condition. And saws can be very tricky to maintain. For that reason, we’ve prepared tips and tricks to properly sharpen a hand saw!
Start by cleaning your saw
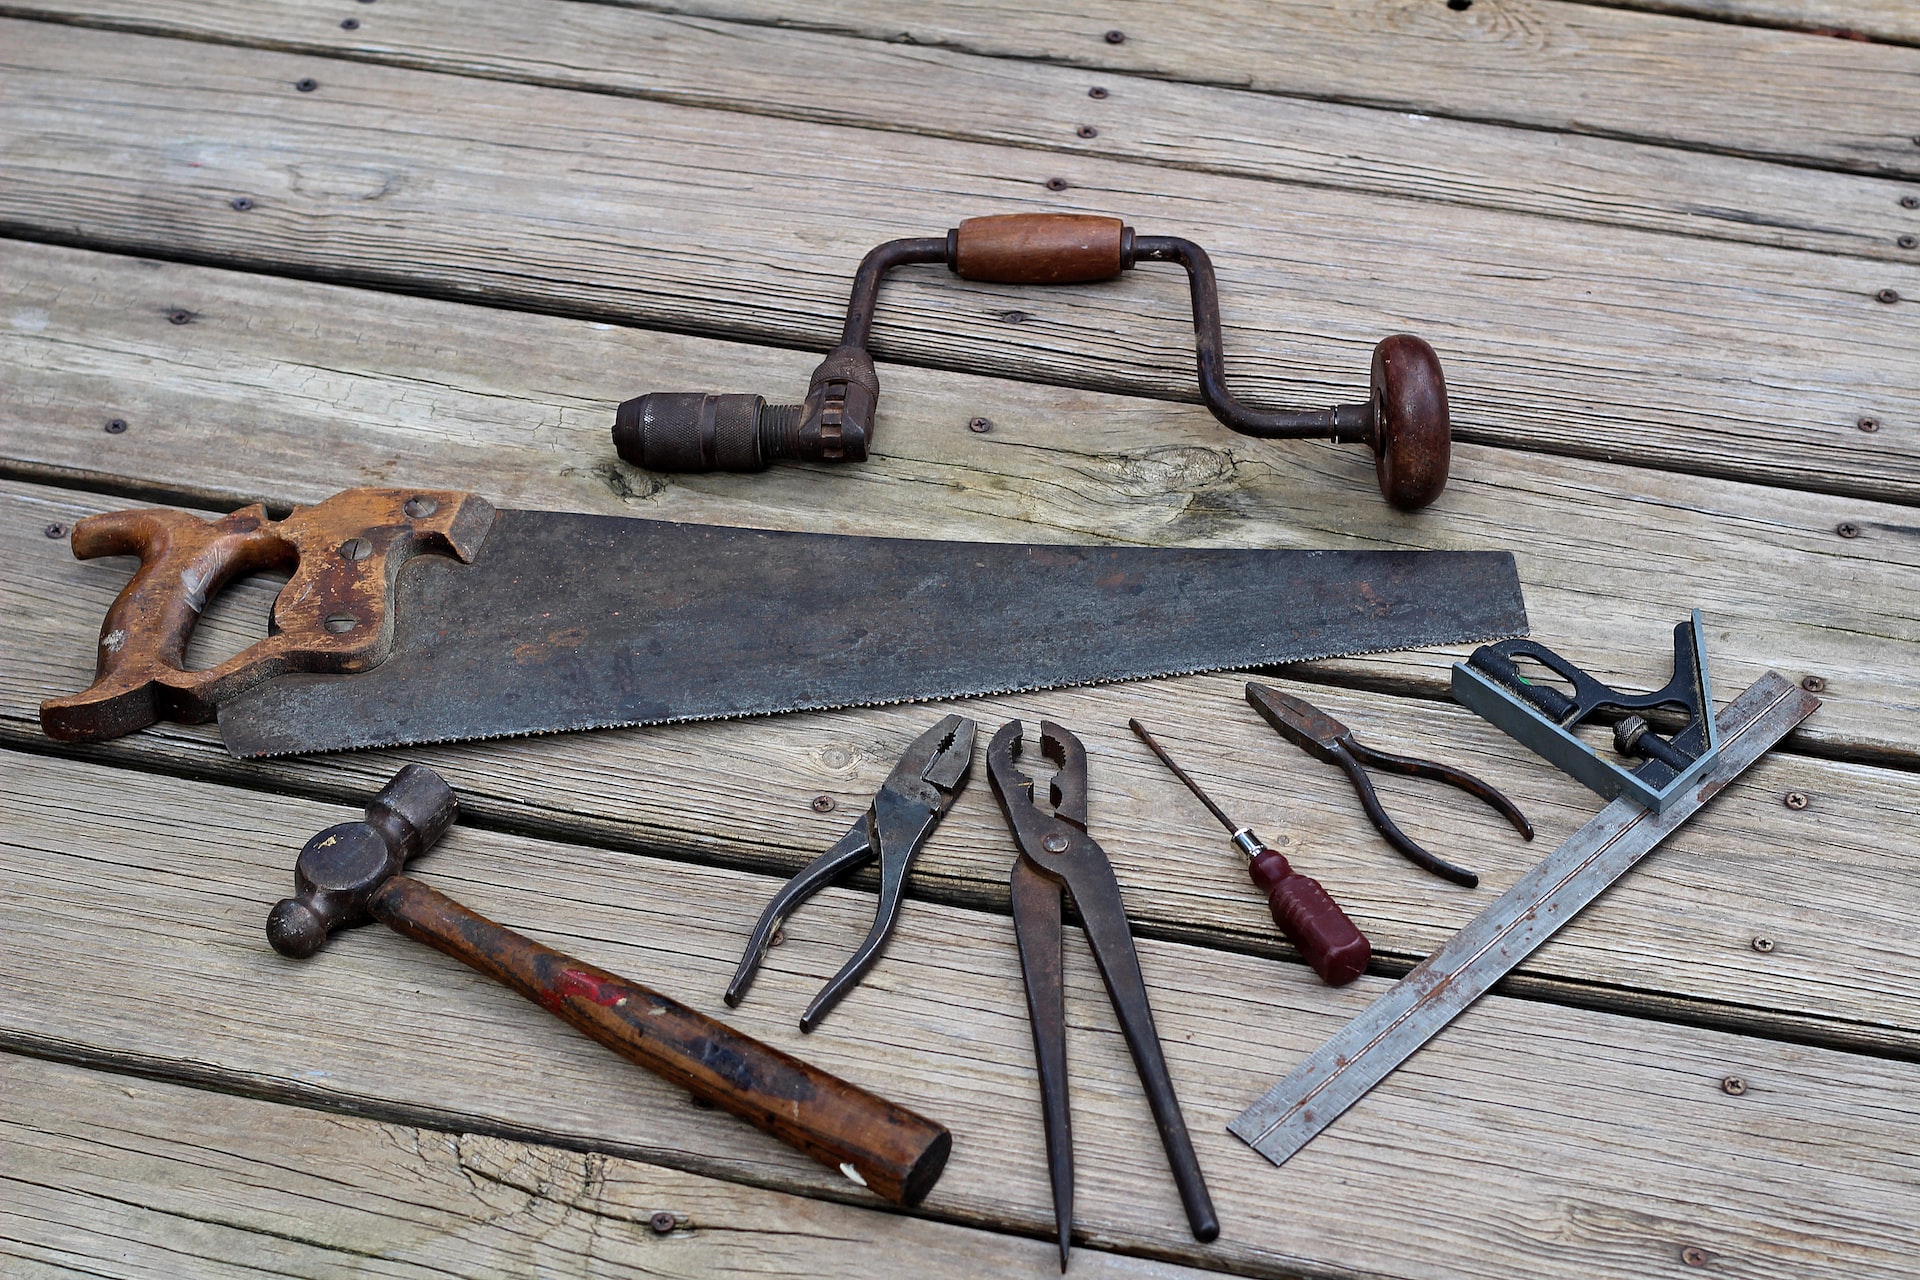
A saw is an integral part of your toolkit. As such, you likely have one already and have taken the time to properly put it away. However, no matter how well you organize your tool shed, if you don’t use a tool often, it will start to degrade.
Now, ideally, your saw won’t be in a horrible condition. But the environment of a shed is not often the best, and moisture and similar can start making a saw rust. You need to eliminate all this rust before trying to sharpen a hand saw properly. Leaving the rust on is just asking for trouble. If you make a mistake and nick yourself on rusty saw teeth, you might have to be rushed off to get a tetanus shot.
Put your saw safely in a vise
Ideally, your efforts to properly sharpen a hand saw will be supported by a proper saw vise. This is because a saw vise is different from regular clamps. It is designed to keep the length of the blade firmly in check and prevent any wobbling. The wobbling of the blade can easily cause you to ruin it while trying to sharpen it, making injury a lot more likely. The blade can even snap if you’re unlucky! Still, you can make do if you don’t have the specialized vise. You can use your best woodworking clamps instead. And then, add two small bits of wood on each side to lengthen the vise’s grip and secure the blade. Make sure to check and then double-check that the blade is entirely immobile before starting your work!
Set the teeth properly
However, you will need the actual tool for the next bit of work. And we are talking about a ‘saw set’. A tool that’s meant to help you properly set the teeth of a saw. Note that you can theoretically attempt what we describe with other tools. Still, that’s something only someone highly skilled can do. And even then, they are pointlessly risking both their fingers and the integrity of their saw.
The best case scenario when attempting this without a tool for the first time is ruining the teeth or breaking the saw blade. To set the teeth, all you need to do is clamp the saw set around a tooth. You will be doing one tooth at a time. Then, press the handles and increase pressure on the tooth for the tool to set it before slowly releasing. Repeat if necessary once you re-check the tooth.
Level out the teeth
The next step to getting a perfectly sharp saw is leveling out its teeth. If any teeth are shorter than others, they contribute very little to the cutting power of your saw. In order to fix this, you will need a jointer. It’s relatively simple to use. All you need to do is place it around the teeth of your saw. Then, gently press on it and slide it from one end of your saw to the other. Check the height of your saw teeth, and if there are still some teeth that are shorter, just do another pass. Note that you really want to do this before sharpening your hand saw because the process can dull the teeth. Especially if you do more than a few passes.
The right sort of file
In order to properly sharpen a hand saw, you need a suitable file. Typically, the info on this can be found in a saw’s manual if you still have it. You can get around that if you measure the number of teeth per inch of your saw. Saws typically range between five to ten teeth per inch.
To know which file to use, buying a saw sharpener file kit is best since these typically come with instructions. And, as the mover and storage experts from muvnow.com like to point out, file kits are also easier to store and keep in good condition. Typically, though, you need a seven-inch file if you have between five to six teeth an inch on your saw. A six-inch file is used for seven to nice teeth. And a five-inch file for ten teeth per inch saw blades.
How to file properly for safety and effectiveness
Finally, we’ve reached the part where you sharpen a hand saw. First, before you do something that takes a ton of time to fix, remember that you need to skip every second tooth and then get those on the second pass. This is because saws work both when pulling and pushing on them. So, teeth need to be filed in both directions, but not on both sides!
Once you’re done with one pass, unclamp your saw, turn it around, and continue. The second thing you need to know is to keep your file straight to sharpen the teeth evenly. Just put it between two teeth, and keep it straight and perpendicular to the saw blade the entire time you’re working. Work on short strokes, so you don’t accidentally twist or tilt the file. Otherwise, you’ll ruin it even if you get the best saw!
Final safety tips to properly sharpen a hand saw
Our tips and tricks to properly sharpen a hand saw will ensure you do the job right. However, it is up to you to keep yourself safe while you work on your saw. Do not rush the job or try to do it when tired or distracted. And most importantly, do not use a file without getting a universal file handle first!