
Cut list optimization helps arrange project parts on available material, but a tightly packed drawing is only useful when it reflects real stock and a workable cutting sequence. Wrong dimensions, ignored kerf or reversed grain can turn a low-waste plan into expensive scrap.
Use software or paper to compare layouts, then check the result against your tools and support. The objective is usable parts and useful leftovers—not the smallest colored waste area on a screen.
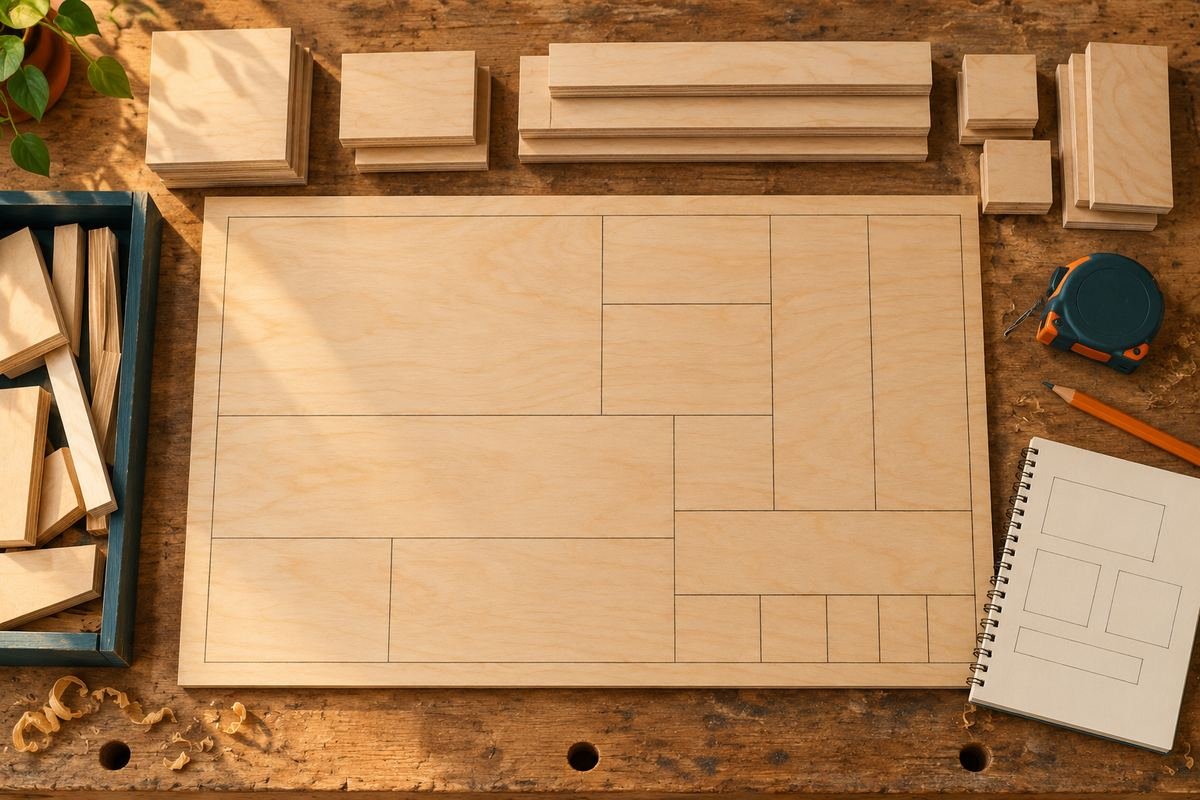
Cut list optimization starts with a verified parts list
Confirm quantities, finished sizes, material, thickness and grain direction before arranging rectangles. Separate rough-cut allowances from final dimensions. Keep all measurements in one unit system and include the actual saw kerf and required edge trim.
| Input | Example question | Common mistake |
|---|---|---|
| Stock size | What is the usable measured area? | Using a nominal size without checking edges |
| Kerf | What does this blade remove? | Treating cut lines as having zero width |
| Grain | Can this part rotate? | Optimizing appearance out of a visible panel |
| Part stage | Rough blank or finished size? | Mixing allowances in one list |
| Sequence | Can every cut be supported? | Assuming nesting is an operating procedure |
1. Measure the stock you actually have
Record usable sheet length and width, thickness, damage and any area you must trim away. A nominal sheet size does not prove every edge is square or undamaged. Check offcuts before entering them as available material.
Keep different materials and thicknesses separate. Two panels with similar color may not have the same core, finish or intended face. Cut list optimization cannot resolve a material identification error after the pieces have been cut.
2. Distinguish finished and rough dimensions
A finished shelf dimension may depend on joinery, edging and the actual opening. A rough blank may need extra length or width for later machining. Write down which stage every dimension represents.
Do not add the same allowance twice or forget it entirely when importing a list from a drawing. Verify at least one representative assembly before making every repeated part. A carefully packed list of wrong sizes remains wrong.
3. Include measured kerf and edge trim
Kerf is the material removed by the cut. Use an appropriate value for the blade and setup, then verify on scrap where accuracy matters. Leave the necessary perimeter trim and do not assume factory edges are your final reference.
A simple example shows why: three 16-inch parts total 48 inches before any cuts or trimming. They do not fit across a true 48-inch sheet when the required separation removes additional material. Cut list optimization should reveal that conflict before you start.
4. Protect grain and face orientation
Mark the visible face and grain direction for each part. Decide which pieces must align across an assembly. Turning a rectangle 90 degrees can improve geometric yield while spoiling the intended appearance or a material requirement.
Use the program’s rotation and grain controls where available. For a matched set of doors or drawer fronts, preserve the required relationship, label the sequence and keep an orientation sketch with the parts. The few extra offcuts may be worth the coherent result.
5. Separate nesting from cutting order
An optimizer can place parts efficiently without proving that your saw can safely reach every line in that order. Rehearse the sequence: initial sheet breakdown, manageable strips, repeated lengths and final trimming.
Check guide placement, clamp positions, support and the retained reference edge at each stage. Avoid an order that leaves a narrow unstable remainder or requires holding a tiny part near a blade. Cut list optimization must respect the operating procedure, not override it.
6. Label immediately and preserve references
Give every part an identifier, quantity and orientation. Label the back or use removable marks compatible with the finish. Check the first repeated part before continuing through the batch.
Record which edge is the reference after a breakdown cut. A pile of similar rectangles becomes difficult to verify later. Keep matched parts together and mark unfinished operations so a rough blank is not mistaken for a finished component.
7. Count useful offcuts, not just percentage yield
A layout leaving one usable rectangular offcut can be more valuable than a slightly higher-yield layout leaving many thin strips. Consider storage space and the next likely project rather than keeping every scrap indefinitely.
Label worthwhile leftovers with material, thickness and usable size. Reject unsafe or contaminated pieces. Some software accepts offcuts as custom stock sizes; verify how the program handles them instead of assuming it maintains a complete offcut inventory.
A practical software-check routine
Enter a small known example first and inspect the units, rotation rules, kerf and edge allowances. Print or save the layout with its inputs and a revision date. Compare any revised parts list against the previous one before cutting.
Then walk the sequence at the bench with power off. Confirm that each panel remains supported and every measurement has a reference. Cut list optimization is most useful when a digital plan and a physical workflow agree.
Questions readers ask
Does the lowest waste percentage always win?
No. Consider usable leftovers, grain matching, handling and the cutting sequence. A slightly lower geometric yield can produce a better practical result.
Can I ignore kerf for small projects?
No. Even a small project can contain enough cuts to change whether the final part fits. Include kerf and verify dimensions.
Do I need paid software?
Not necessarily. Paper or a suitable simple planner can handle a small list. The critical requirement is correct inputs and a checked sequence.
Optimize for parts you can actually build
Use cut list optimization to compare sensible layouts after verifying the material and dimensions. Preserve grain, allow for the blade, and prove a supported cutting order before committing the sheet.
Sources and editorial approach
Published October 2026. This article combines the primary sources below with original explanatory examples and practical analysis. It does not claim hands-on product testing. The cover is an original AI-generated editorial illustration, not a product test photograph. Follow the exact equipment instructions for operation.
MaxCut: layout constraints, grain and kerf