
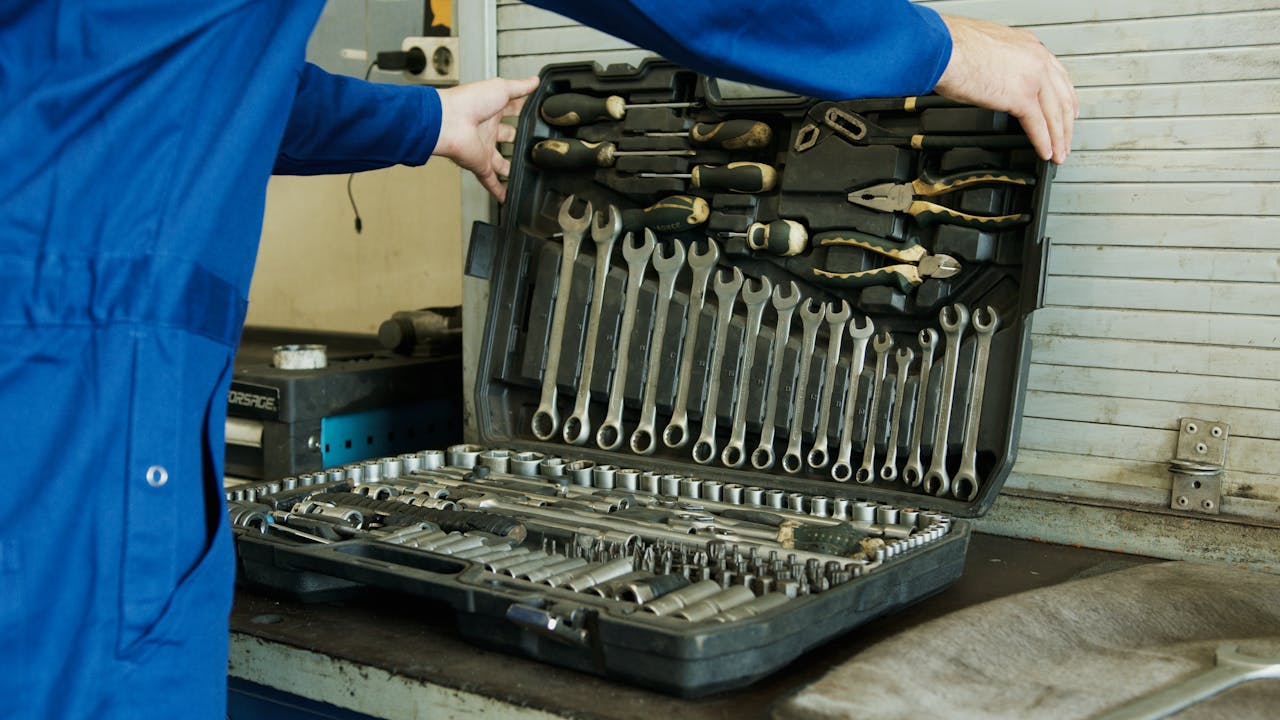
The right tools for dismantling furniture matter less than the instructions and the route. Good furniture disassembly begins with the instructions and the route, not the largest tool in the bag. Measure the doorways and the assembled piece, identify removable parts, and decide how much dismantling is actually necessary. A piece that fits through the route may need only drawers or detachable legs removed.
This guide focuses on preserving reusable household furniture. Glued joints, damaged particleboard, glass, lifting mechanisms and unfamiliar connectors can require different handling. Find the exact maker instructions and stop when the construction or support is uncertain. Cutting an item into smaller pieces is disposal, not ordinary preparation for reassembly.
Tools for dismantling furniture: build a small, organized kit
Start with correctly sized hand drivers, matching hex keys, suitable wrenches, labels, small hardware containers and surface protection. A drill/driver is optional when the instructions permit it and its control suits the fastener.
Keep that kit together so the tools and labeled parts reach the new location. Choose storage around the actual kit rather than carrying the entire workshop to each item.
| What you find | Useful tool | What to check |
|---|---|---|
| Screw head | Correct type and size of driver | A similar-looking bit can damage the recess |
| Hex socket | Matching metric or imperial hex key | Full seating and no rounded corners |
| Nut and bolt | Appropriate wrench or socket | Support the part and restrain the other end when required |
| Cam connector or concealed fitting | The maker’s specified release method | Direction, remaining fasteners and panel support |
| Glued or unfamiliar joint | Instructions or suitable specialist help | Do not assume a screw-removal sequence will separate it |
1. Find the exact instructions before taking anything apart
Look for a label, model name or article number and obtain the corresponding assembly documents. IKEA’s US support page, for example, explains how to find documents from the product page. Use the instructions for your actual item, not a visually similar cabinet with different fittings.
Assembly diagrams can help identify hardware and panel relationships, but they are not automatically a complete disassembly procedure. Check for special removal guidance, anchoring requirements and connectors intended for limited reuse. Photograph the assembled item and connections while they are still clear. That record is more useful than trying to reconstruct the arrangement from an unlabeled pile after the move.
2. Match the driver to the screw recess
Use the exact driver type and size for the recess. Phillips, Pozidriv, slotted, square and Torx patterns are not interchangeable just because a bit seems to enter the head. Seat the driver fully and use controlled force so the head is not rounded before it starts to turn.
Keep a hand driver available for delicate or partly damaged fittings. If the fastener does not release as expected, check for another retaining component, the correct direction and the intended procedure. More torque is not always the answer. Work with the part supported and protect exposed surfaces from the tool and removed hardware.
3. Use correctly sized hex keys and wrenches
Flat-pack and other furniture often use hex-socket screws. Match the key size exactly; metric and imperial tools can look close without seating properly. A loose fit can round the socket and make later removal more difficult. Replace a worn tool rather than relying on it for a stubborn connector.
For nuts and bolts, an appropriate wrench or socket usually provides a better fit than ordinary pliers. Some fittings need the opposite end restrained, as directed. Plan access before loosening so your hand or tool does not strike a fragile panel when the fastener releases. Collect washers and spacers in the same labeled group as their connector.
4. Support components before the last fastener comes out
A panel, door or tabletop can become unstable as its retaining hardware is removed. Establish support before loosening the final connection and follow any two-person handling requirement. A partially dismantled item may be less stable than the assembled piece, so do not leave it standing unsupported while searching for another tool.
Remove contents and permitted detachable parts in the instructed order. Handle glass, mirrors and mechanisms using their specific directions. Do not disconnect anchors or restraints until the item can be kept stable through the procedure. If the piece is too heavy or awkward to control with available help and equipment, arrange appropriate assistance instead of improvising the lift.
5. Label the hardware at the moment it is removed
Give each item and assembly a simple identifier, such as desk A or left-door hinge. Put related screws, washers and connectors into a suitable closed container with that identifier. Photograph the connection and note orientation where it affects reassembly. Different screw lengths should remain distinguishable even within one group.
Keep the hardware with the item through a reliable packing arrangement that protects finishes. Avoid sticking strong tape directly to a visible surface or relying on a loose plastic bag balanced on a panel. Record any missing or damaged fitting before the move. It is easier to source the correct part with a model number and clear photographs than after the original hardware has been lost.
6. Measure and protect the dismantled parts
Measure the largest remaining component and the route through doors, stairs and the destination room. Allow for handles, corners and the space needed to turn safely; a straight width measurement alone does not describe every maneuver. Plan the route before a heavy component is in motion.
Use clean protection appropriate to the finish and keep hard hardware from rubbing against panels. Avoid trapping moisture under packing materials. Protect corners and removable glass under their required handling method. A blanket or dolly can help with a suitable arrangement, but it does not establish the load limit, stability or safe method for an unfamiliar item.
7. Treat a drill/driver as optional controlled assistance
A drill/driver can reduce repeated turning when the connector and instructions permit power driving. Use a matching bit and a controlled low-speed, appropriate clutch setting; keep a hand driver available for final control. An impact driver’s aggressive action may be unsuitable for delicate furniture fittings.
Do not assume power tools are necessary for a small task kit. Loose recesses, hidden connectors and partly supported panels can make hand tools the more controlled choice. For reassembly, follow the specified sequence and fastening method rather than reproducing the force used during removal. A drill cannot determine when fragile material or an unfamiliar fitting has reached its appropriate limit.
8. Prepare for reassembly before the move ends
Keep the instructions, photos and hardware labels accessible with the item. Check parts for damage and verify that needed connectors are present before starting at the destination. Use replacement hardware specified by the maker rather than a roughly similar screw that may split a panel or interfere with a fitting.
Reassemble on an appropriate level surface using the actual sequence, and restore required anchors or restraints before normal use. Check doors, drawers and other moving components after assembly. An item that appears complete may still be missing a brace or restraint. Resolve damaged joints and instability before loading it with belongings.
Questions readers ask
Should I dismantle every piece before moving?
No. Measure the route and follow the maker’s handling guidance. Unnecessary disassembly can damage fittings or add work.
Can I use pliers instead of the correct wrench?
Use a properly fitting tool where possible. Ordinary pliers can damage a nut or fastener and provide less controlled engagement.
Can I cut a reused cabinet to make it fit the vehicle?
Destructive cutting is not normal preparation for reassembly. Consider appropriate disassembly or transport instead.
Are assembly instructions enough for every removal procedure?
They help identify construction, but special fittings, anchors and limited-reuse connectors may need specific removal guidance. Confirm the actual item.
Preserve the item and the information needed to rebuild it
Measure first, find the instructions, match the connector and support the component before release. Label hardware as it comes off and protect the separate parts for the route. These habits matter more than carrying a large collection of tools.
Use suitable help for heavy, fragile or unfamiliar furniture. Keep disassembly controlled so the new location receives both usable components and a clear reassembly plan.
Sources and editorial approach
This guide was refreshed in October 2026 using primary sources and original practical analysis. It does not claim hands-on equipment tests. The exact tool and accessory instructions govern their operation.